
Perfex CRM menu setup lets you reorder the left menu, hide items you do not use and change icons, so each team sees only what it needs. This guide, tested on Perfex CRM 3.4.1, shows how to activate the Menu Setup module and how to edit the main menu and the setup menu.
What Perfex CRM menu setup changes #
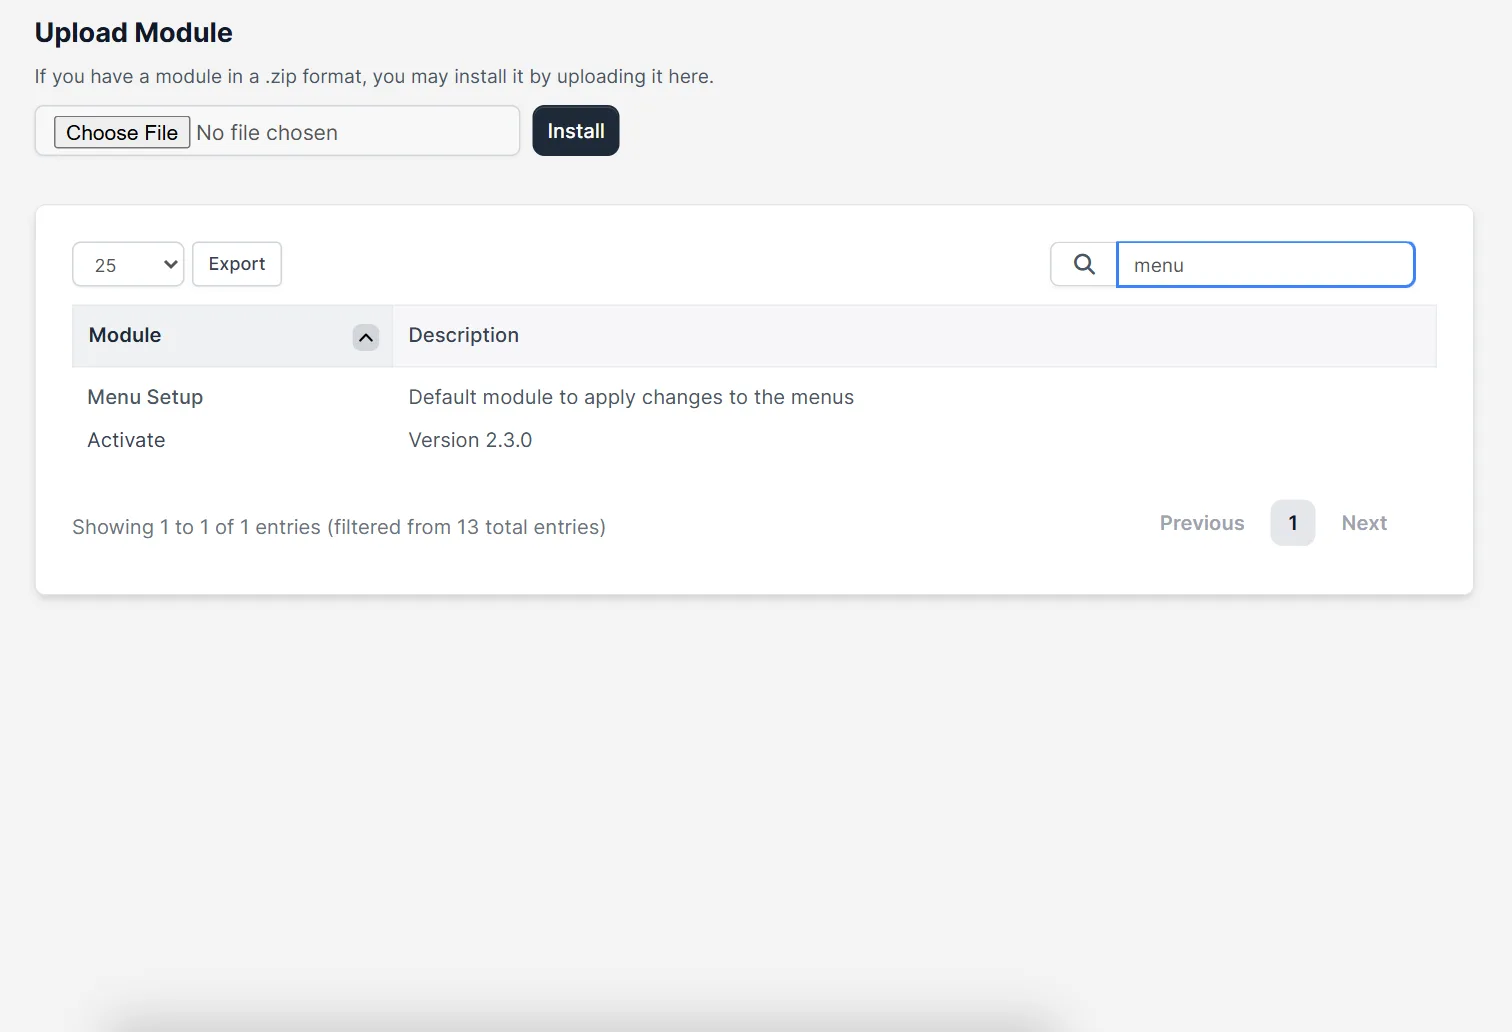
Menu Setup is a default module with the description “Default module to apply changes to the menus”. It adds two pages: Main Menu, which is the menu on the left of the CRM, and Setup Menu, which is the list you see after you click Setup. Changes apply to everyone.
Step 1: Activate the Menu Setup module #
Open Setup > Modules, find Menu Setup and click Activate. The steps for any module are in Perfex CRM install module.
Step 2: Open the main menu #
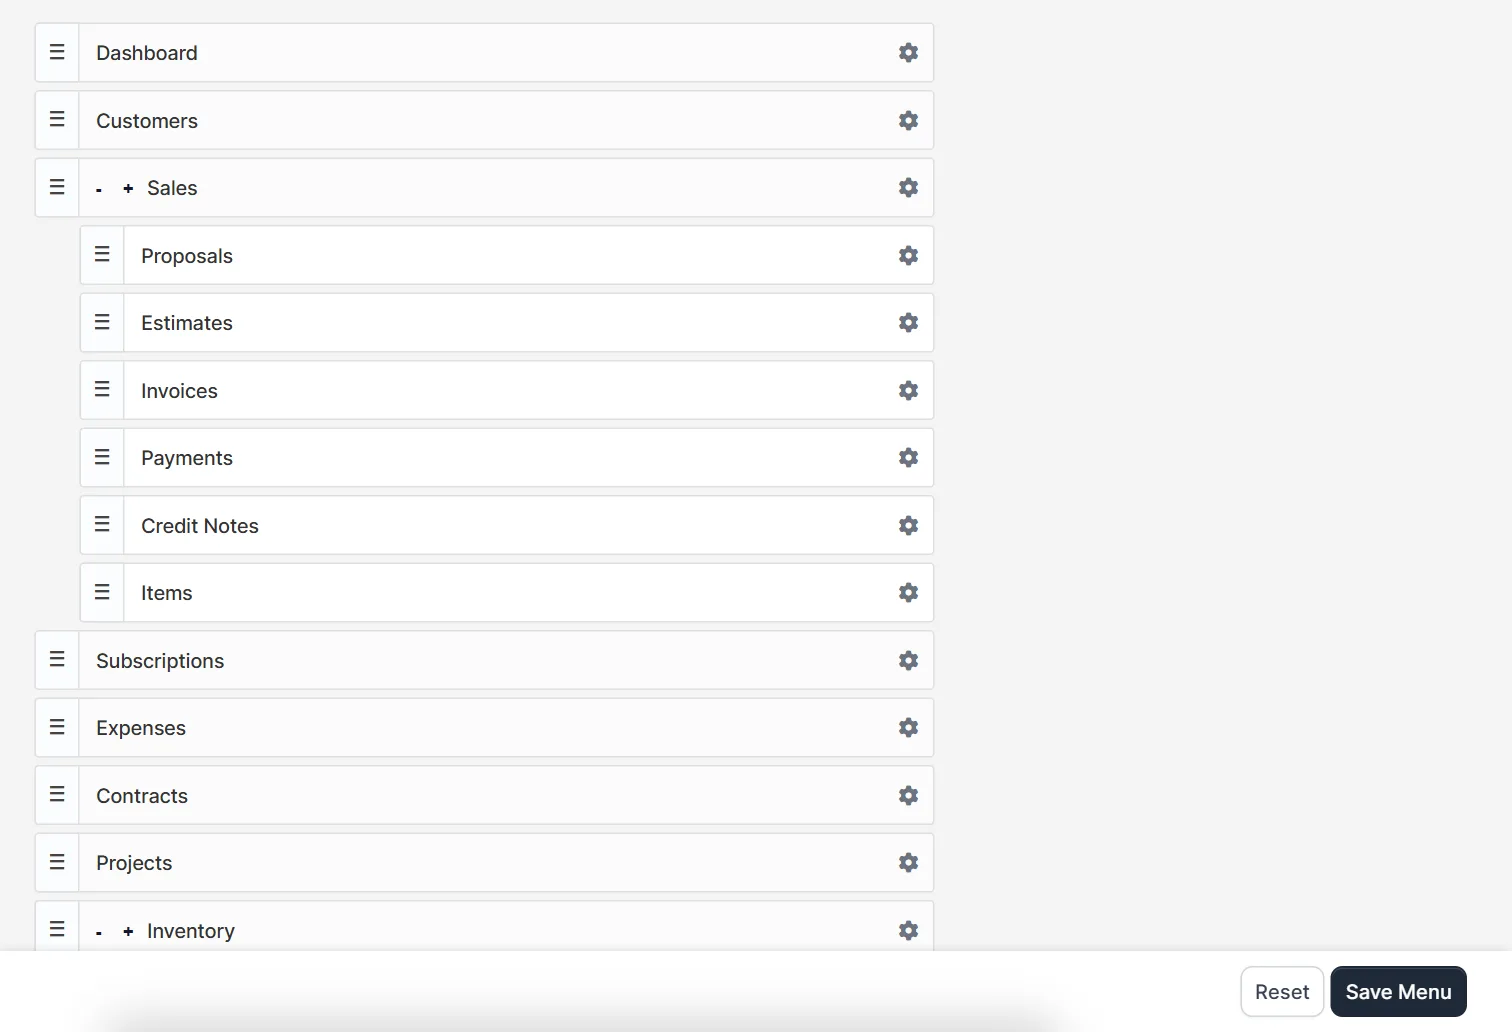
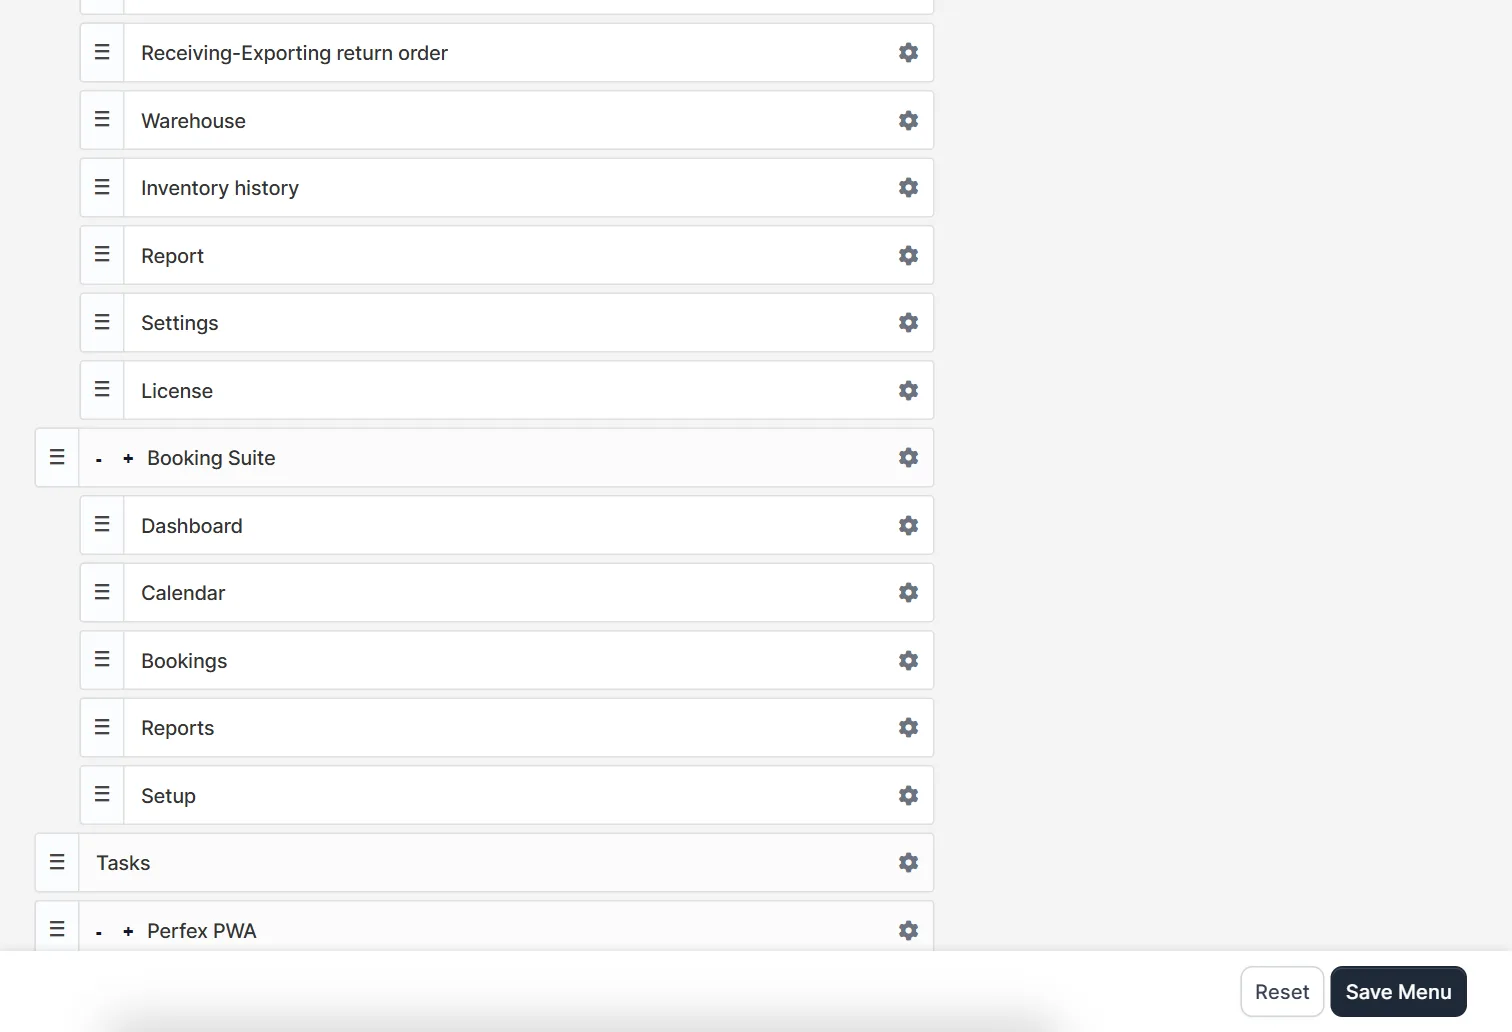
In the Setup menu, Menu Setup now has the links Main Menu and Setup Menu. The main menu page shows every item as a bar with a handle on the left and a gear icon on the right. Groups such as Sales and Inventory hold their child items below them, with a minus and a plus sign to fold and unfold.
Step 3: Drag items to a new place #
Grab the handle of an item and drag it up, down or into another group. Put the pages your team opens every day near the top. The Save Menu button at the bottom stores the new order, and Reset returns to the default menu.
Step 4: Rename, hide or change the icon #
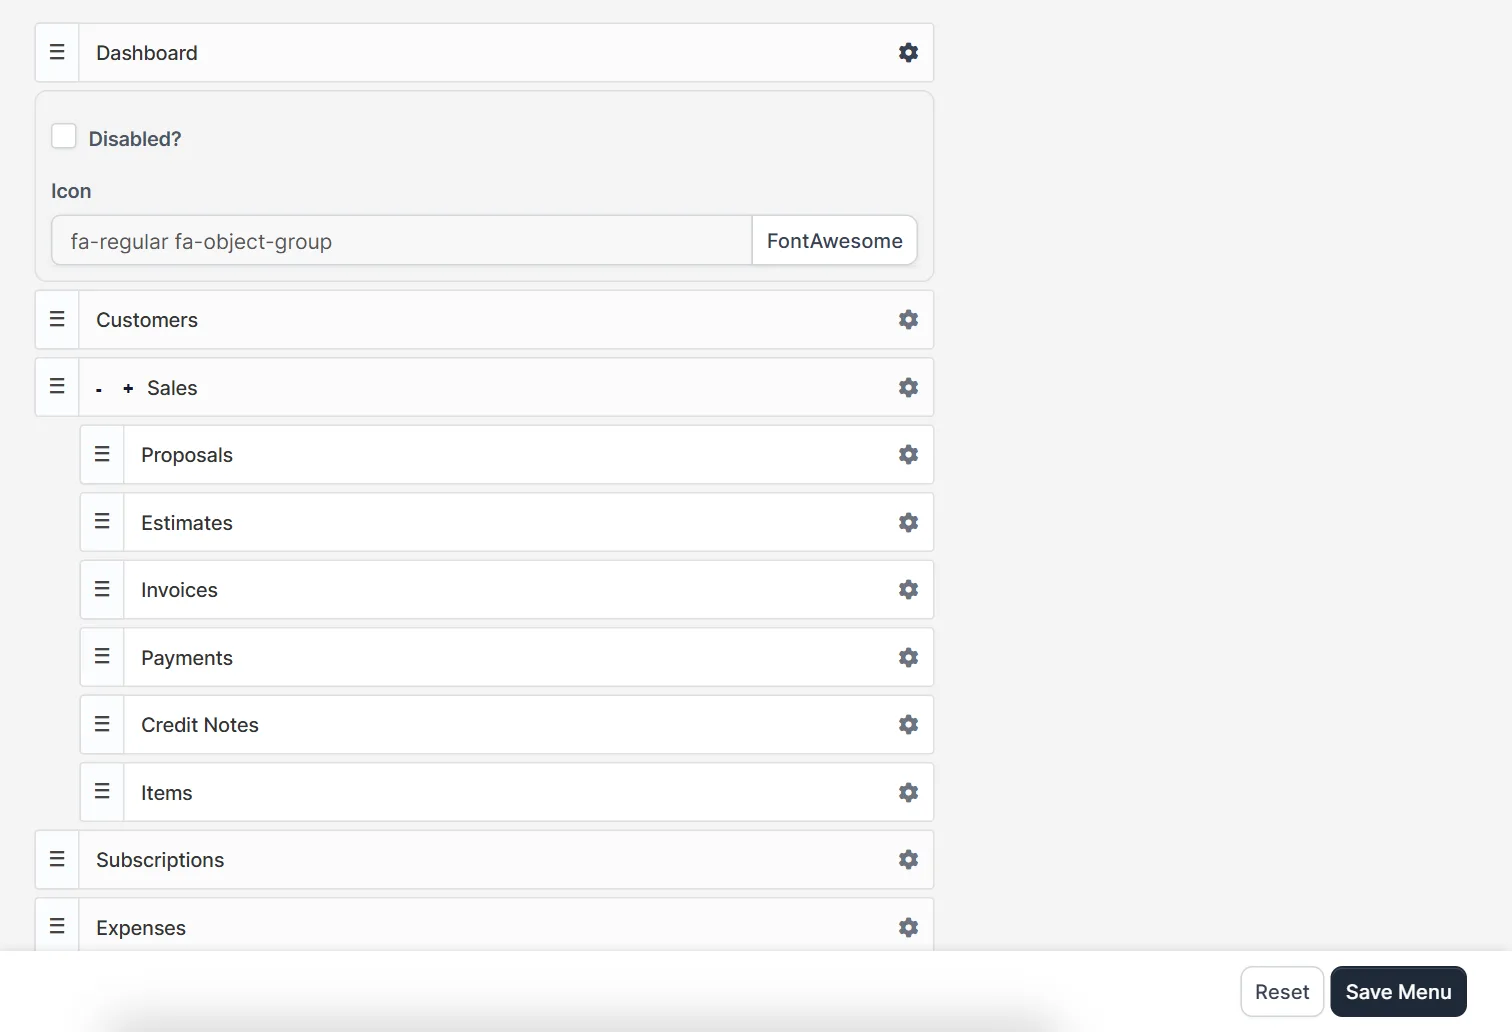
Click the gear of an item. A small panel opens with the Disabled? checkbox and the Icon field, which takes a FontAwesome class and has a FontAwesome button that helps you find one. Tick Disabled to hide the item from the menu without deleting it.
Step 5: Edit the setup menu #
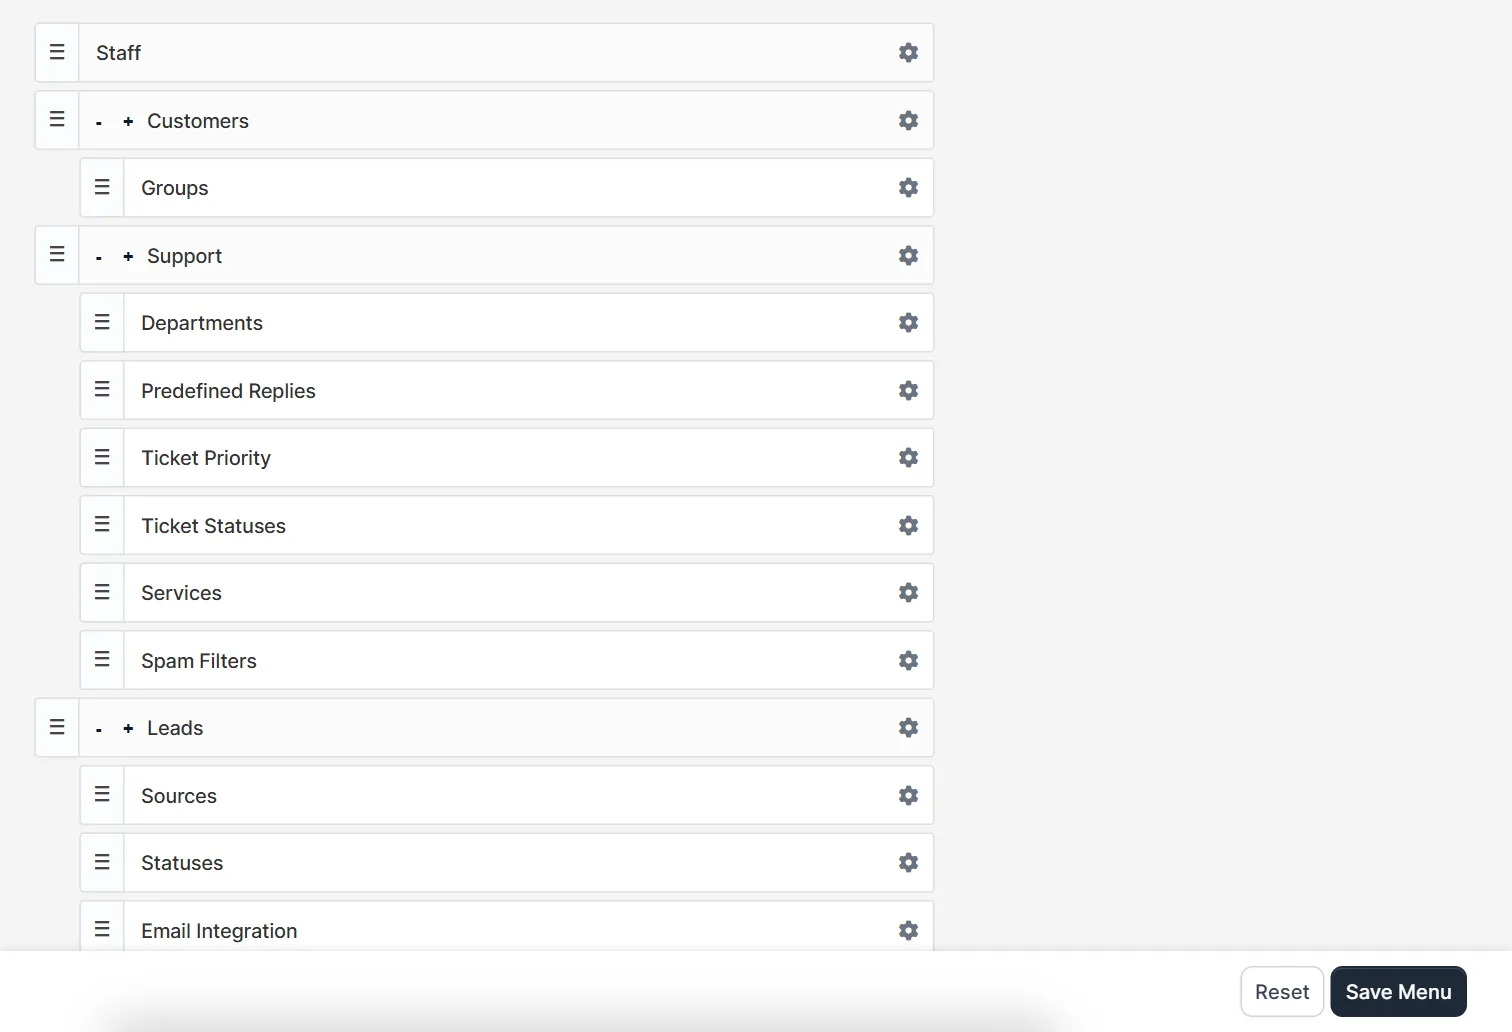
Open Setup Menu to change the list of Setup pages, such as Staff, Customers, Support and Leads, with their sub items like Departments, Predefined Replies and Email Integration. It works the same way: drag, use the gear and click Save Menu.
Who should change the menu #
Only admins should open Menu Setup, because every change applies to all staff. Plan the order on paper first: put the pages your team uses every day at the top and group the rare ones. A tidy Perfex CRM menu setup saves clicks and helps new staff find their way faster. After a CRM update or a new module, open the page again and check the order.
Tips for your menu setup #
- Disable an item before you delete anything. You can switch it back on.
- Keep the order of the menu the same for all staff, so you can help each other.
- Use Perfex CRM roles and permissions to control who can open a page, because hiding an item is not a security setting.
- Modules add their own items. After you activate a new module, check the menu setup page for them.
- Click Reset if the menu looks wrong.
Not tested here: renaming an item and saving a changed order, because the demo CRM keeps its default menu. Read the official Perfex CRM help for more.
Related module: After you finish Perfex CRM menu setup, Custom Links for Perfex CRM adds your own links to the menu, with options and access restrictions.
Frequently asked questions #
Does Perfex CRM have a menu editor? #
Yes. Activate the Menu Setup module and open Main Menu or Setup Menu.
Can I hide a menu item? #
Yes. Open the gear of the item and tick Disabled.
Is hiding an item the same as blocking access? #
No. Use roles and permissions to block access to a page.
How do I return to the default menu? #
Click Reset on the menu setup page.


