
Perfex CRM install module is a short job: you upload the .zip file of a module, click Install and then activate it. This guide, tested on Perfex CRM 3.4.1, shows where the upload form is, how to activate and deactivate a module, and what to check before you add a new module to a live CRM.
Where to find the Perfex CRM install module page #
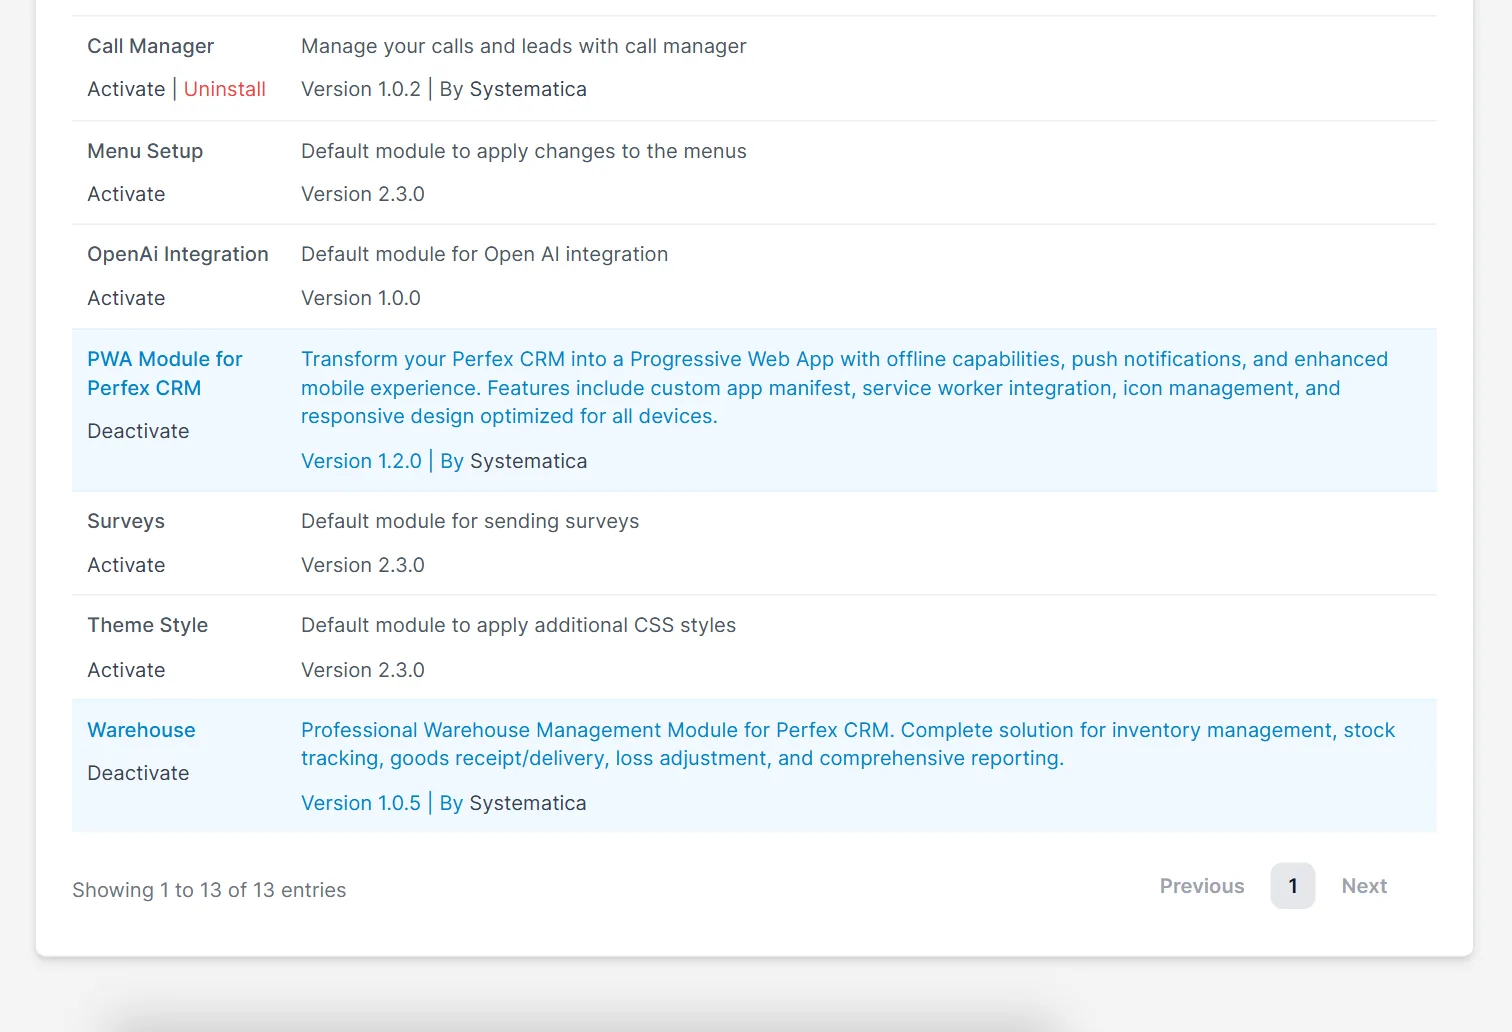
Open Setup > Modules. The top of the page holds the upload form with the text “If you have a module in a .zip format, you may install it by uploading it here”, a Choose File button and an Install button. Below it, a table lists every module with its name, description and version. Active modules have a light blue background.
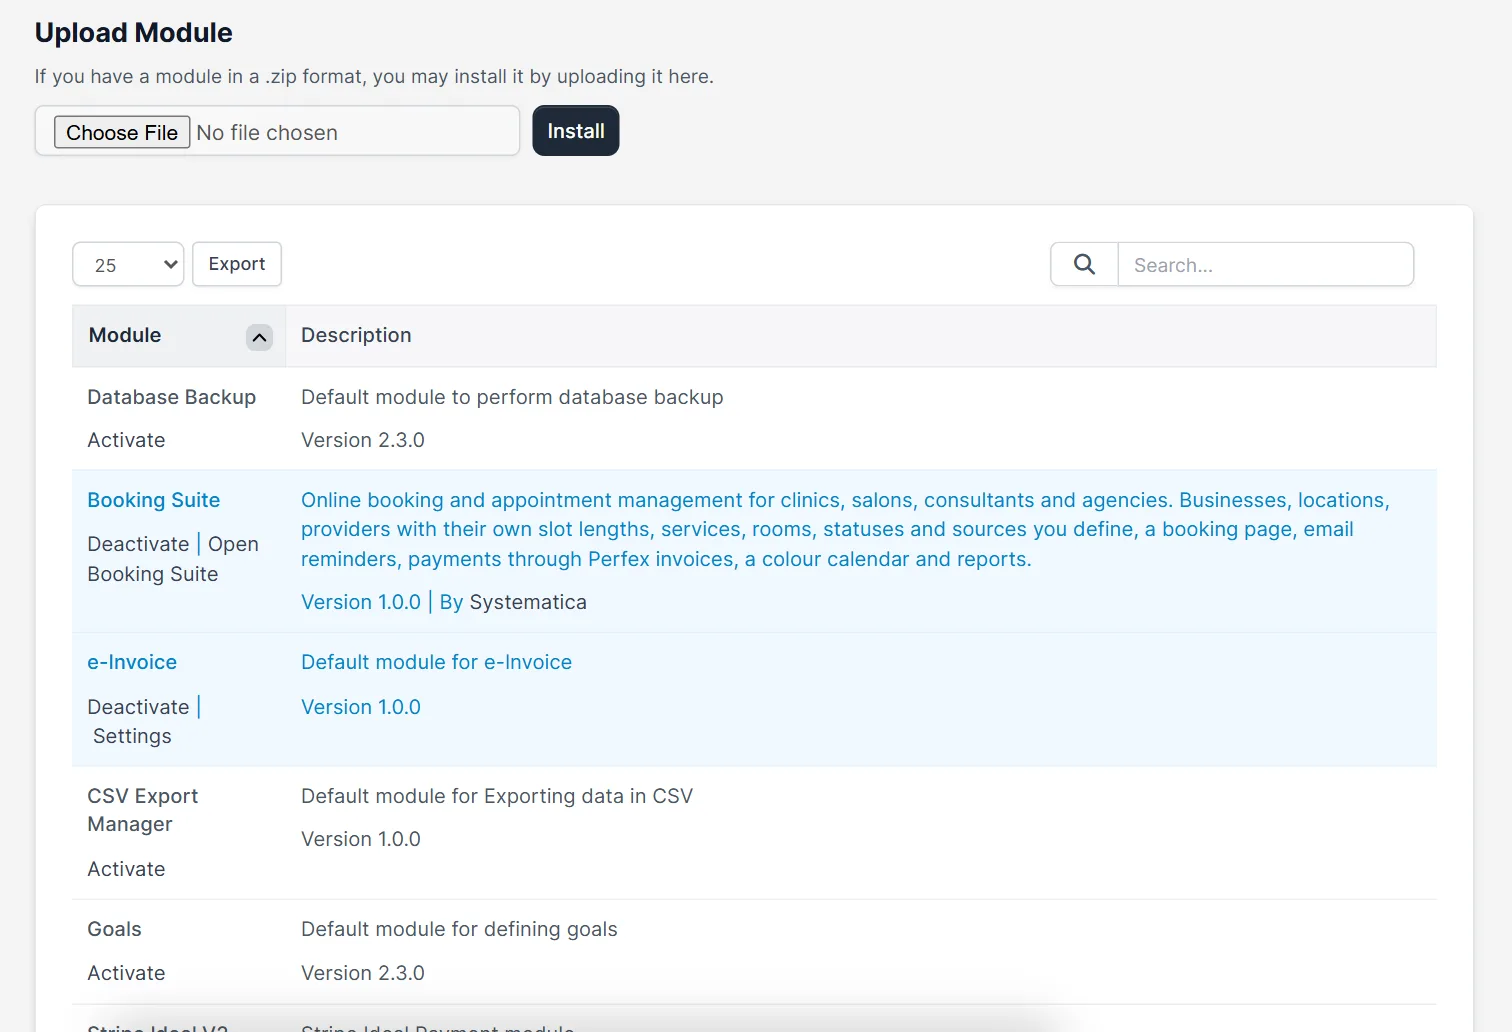
Step 1: Prepare the module zip #
Download the module from the seller and keep the file as a .zip. Do not unpack it for the upload form. Before any Perfex CRM install module job on a live CRM, take a backup of the database, see Perfex CRM database backup, and try the module on a test copy first.
Step 2: Upload with the Install button #
Click Choose File, select the zip and click Install. Perfex CRM unpacks the module into its modules folder and adds it to the list. A Perfex CRM install module upload takes only seconds. The pictures in this guide use the modules that come with Perfex CRM, because no zip was uploaded in this test. The list and the buttons are real.
Step 3: Activate the module #
Find the module in the list and click Activate. The row turns blue and the link changes to Deactivate. A module that is not active has an Activate link and, if it was installed by upload, an Uninstall link in red. Some modules ask for a license key or prepare database tables when you activate them, so read the notes of the module first.
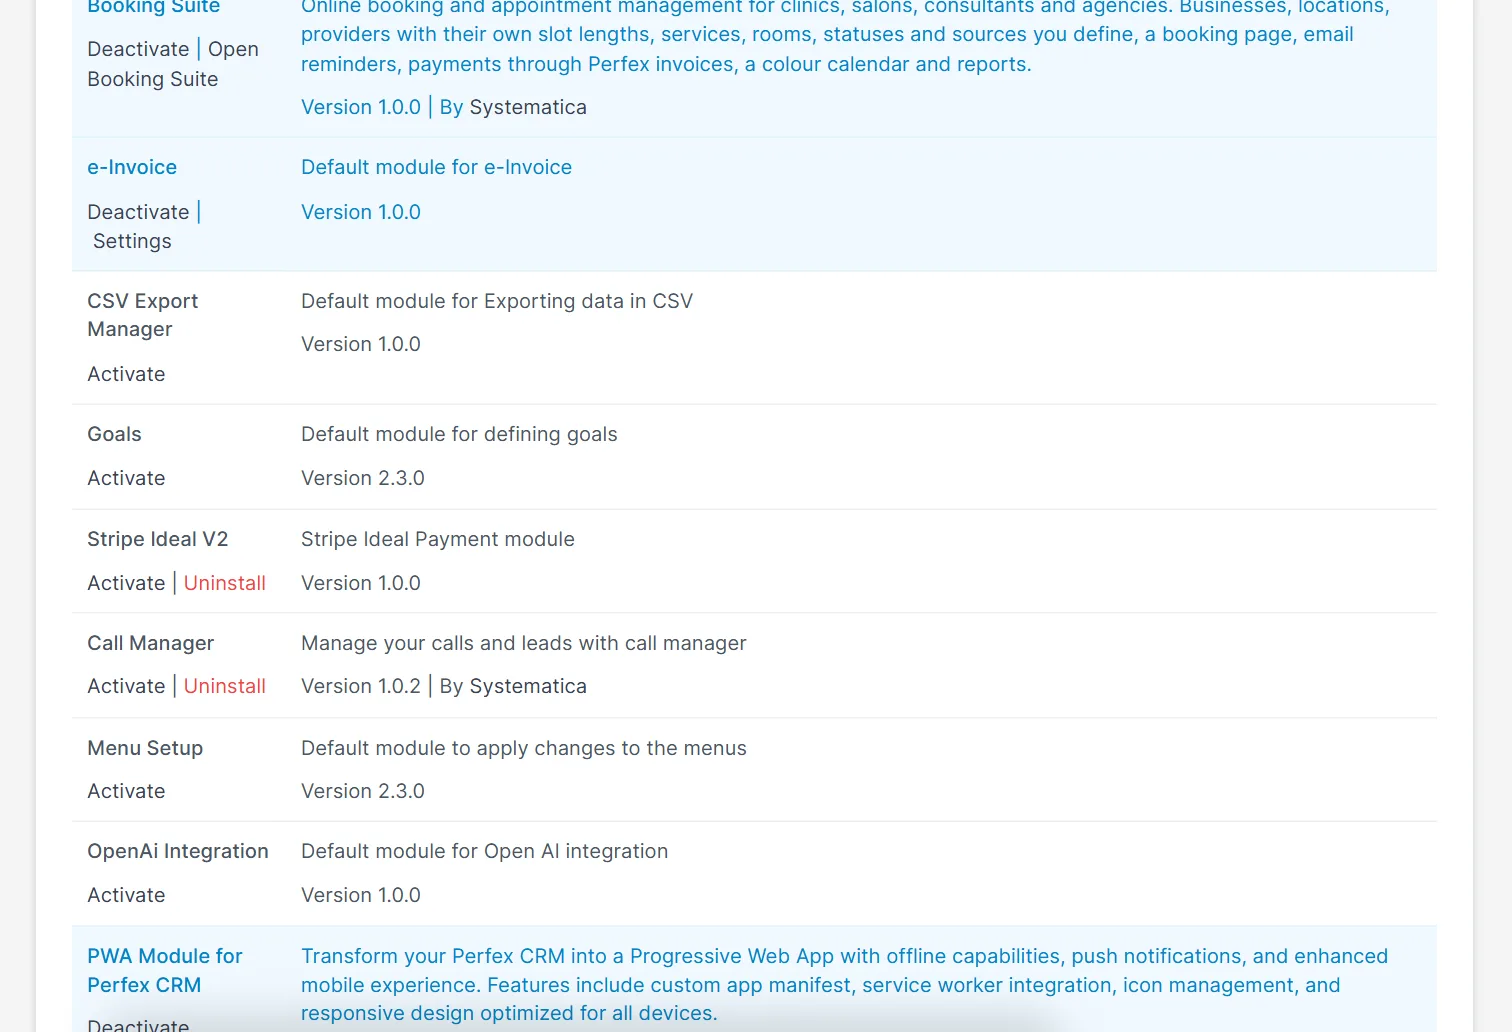
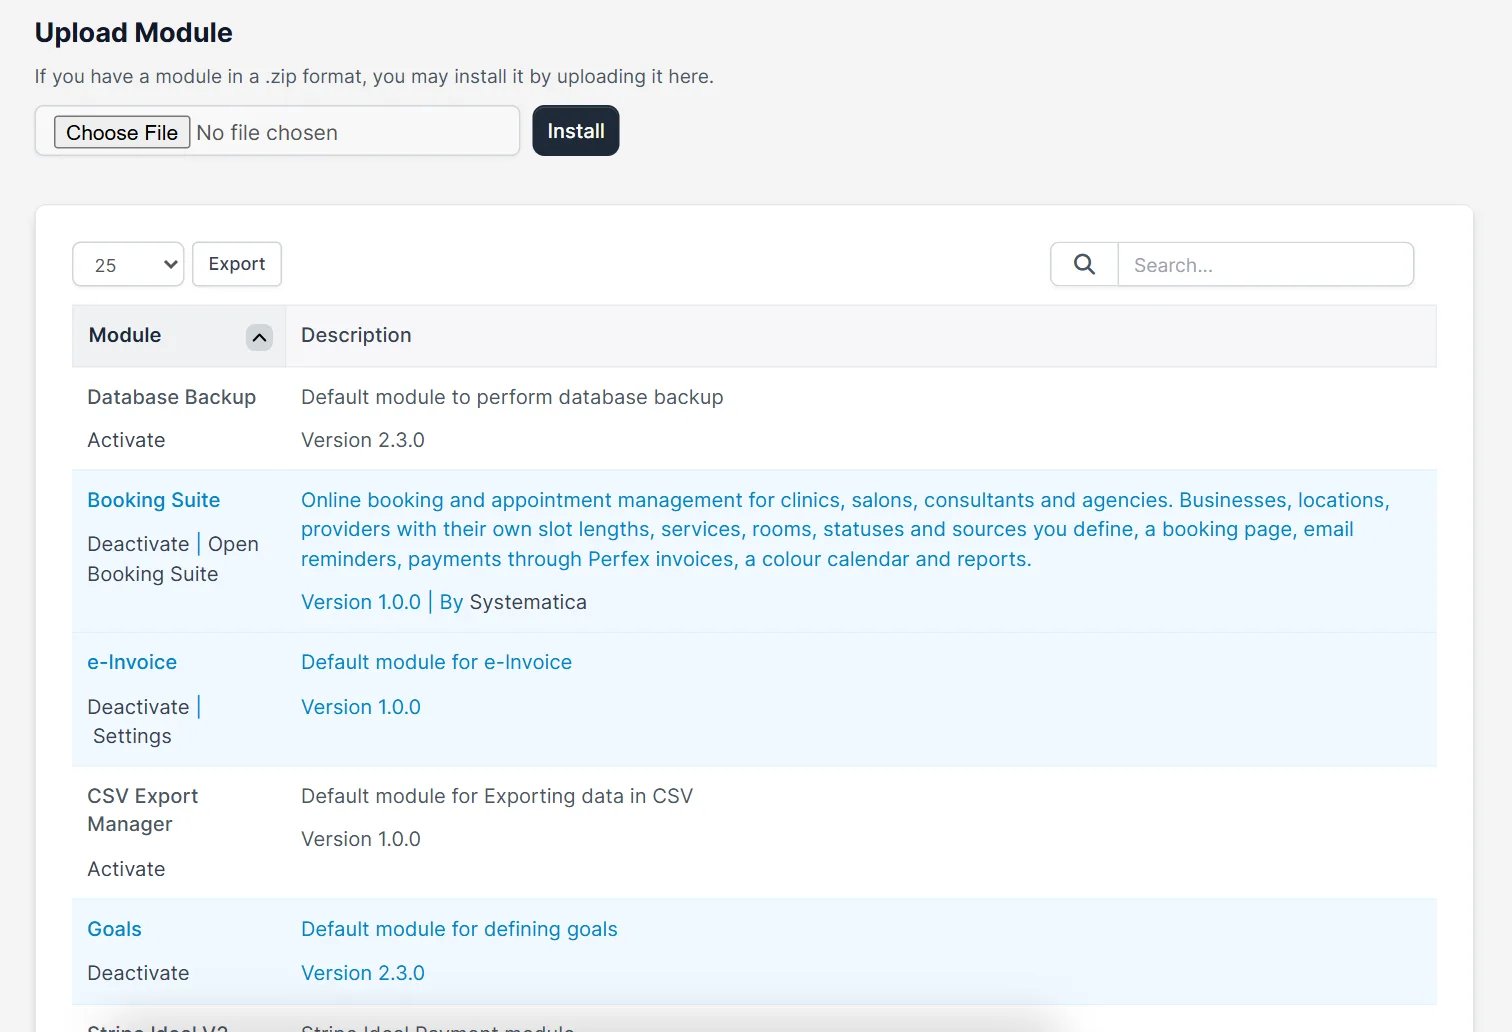
Step 4: Find the menu of the module #
After activation, a new item usually appears in the left menu or under Setup. Some rows also show extra links, such as Settings for e-Invoice or Open Booking Suite for the Booking System. Every Perfex CRM install module adds its own menu or Setup page. Use the search box above the table when the list is long.
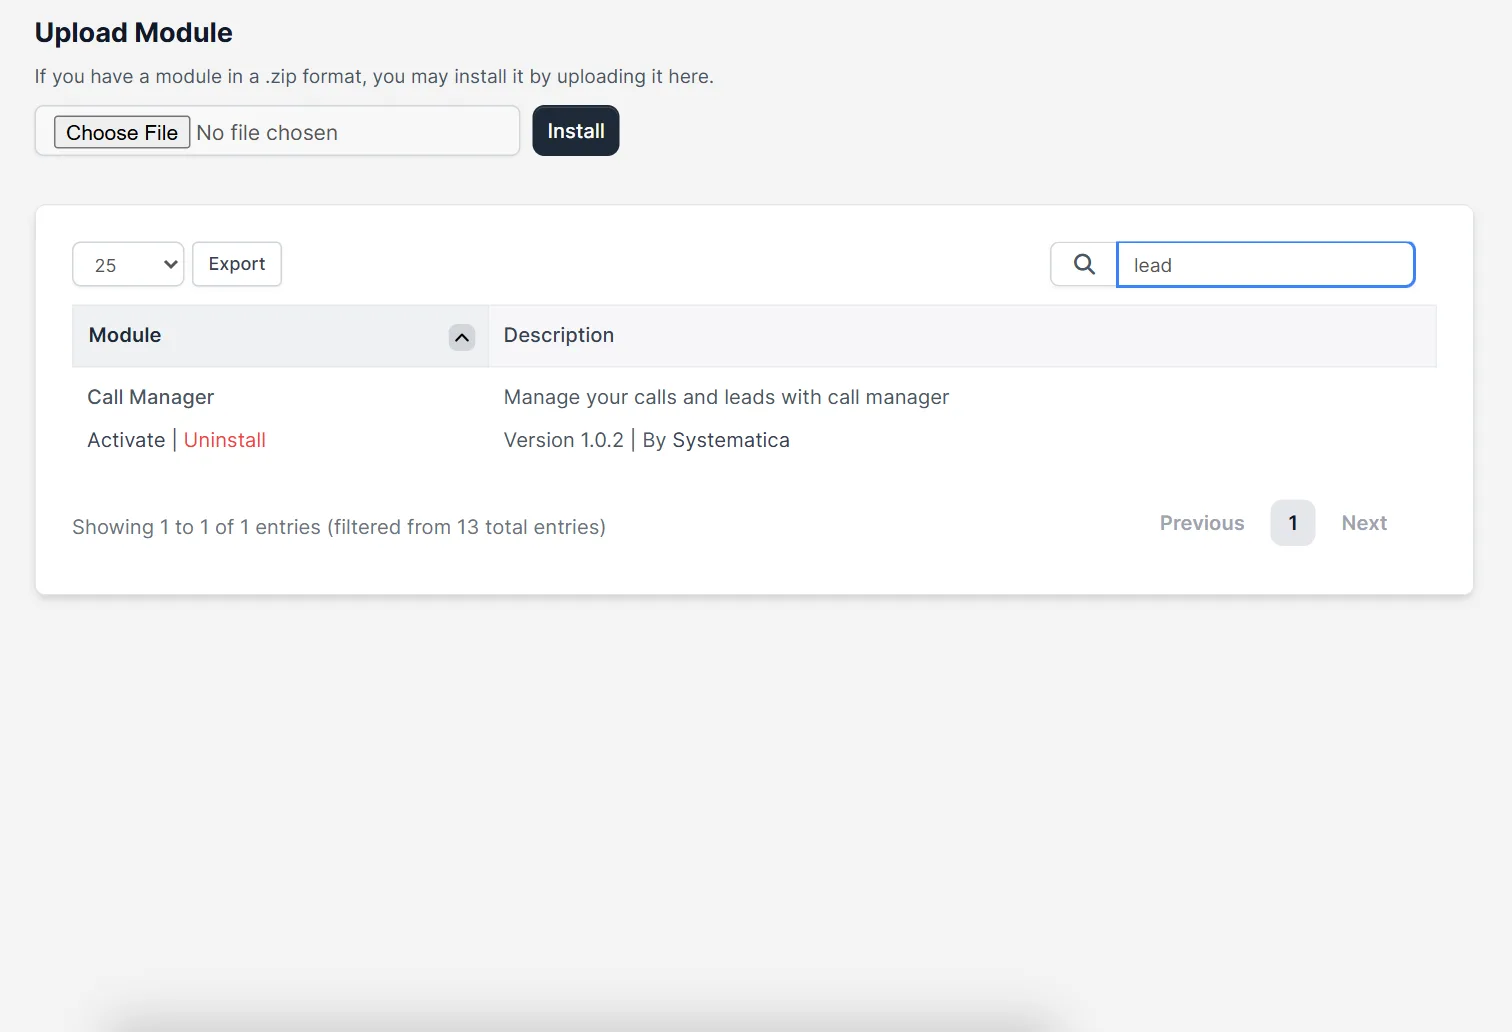
Step 5: Deactivate or uninstall #
Click Deactivate to switch a module off and keep its data. After a Perfex CRM install module trial, use Uninstall only when you no longer need the module, because some modules remove their data. Read the official Perfex CRM help if you are unsure.
Tips for a safe module install #
- Repeat the Perfex CRM install module steps on a test copy before the live CRM.
- Install one module at a time, so you know which one causes a problem.
- Keep the original zip file and the purchase email.
- Check that the module supports your Perfex CRM version before you buy.
- Use the same steps to run the Perfex CRM cron job check after you add a module that needs cron.
- Test the activation on a copy of your CRM, not on the live one.
Not tested here: uploading a real zip file and uninstalling a module. The screenshots come from a demo CRM.
Related module: After your first Perfex CRM install module upload, try the Booking System for Perfex CRM, which installs through the same Setup > Modules page and adds online booking, a provider calendar and reminders.
Frequently asked questions #
Where do I install a module in Perfex CRM? #
Open Setup, then Modules. Choose the .zip file in the upload form and click Install.
Do I need to unzip the module first? #
No. Upload the .zip file as you downloaded it.
What is the difference between Deactivate and Uninstall? #
Deactivate switches the module off and keeps its data. Uninstall removes the module and may remove its data.
Why does a module not activate? #
Common reasons are a missing license key, a PHP version that is too old or a module that does not support your Perfex CRM version.


